Next Steps
Page not available in that version
The current page Next Steps doesn't exist in version 1.6.2 of the documentation for this product.
Overview
With the cluster installed, finish these tasks before you let users on to the system. They are done in the web interfaces, not with deploy.
Every interface is reached under the main manager hostname, the first entry of manager_hostnames. Signing in under any other name, a machine’s IP address included, fails.
| Interface | Address |
|---|---|
| GUI | https://<manager hostname>/gui/ |
| Zitadel Console (users and roles) | https://<manager hostname>/ui/console |
| Grafana (dashboards) | https://<manager hostname>/grafana/ |
| API | https://<manager hostname>/api/v1/ |
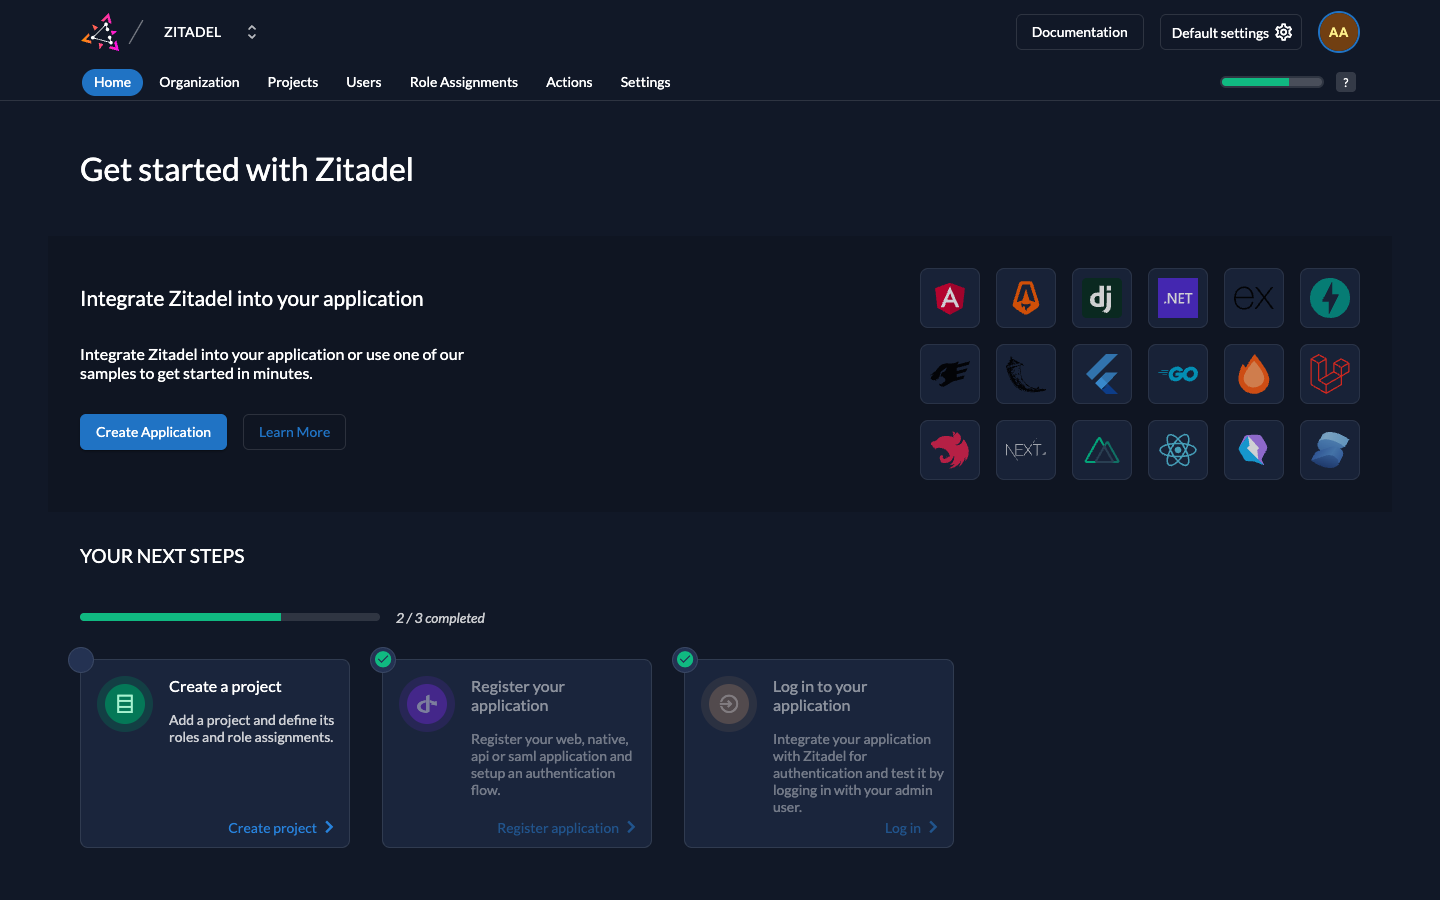
Step 1: Sign In to the Zitadel Console
Zitadel is the manager’s identity service: every user account and role lives there.
- Open
https://<manager hostname>/ui/console. - Sign in with the default administrator: login name
admin@zitadel.<manager hostname>, passwordPassword1!. The console also accepts the account’s email address,admin@agiletv.dev. - If you are asked to set up multi-factor authentication (MFA), skip it. MFA is not supported in this release, and setting it up can lock you out of the account.
Step 2: Replace the Default Administrator
The default credentials are published, so replace them before the system is reachable by anyone else.
- Create your own administrator account, as in Step 4, and give it the administrator roles. See Zitadel’s administrator documentation for the roles.
- Sign out, and sign in with the new account to check that it works.
- Disable or delete the default
adminaccount.
Step 3: Configure SMTP (Recommended)
Zitadel sends email to verify addresses and reset passwords. Without an SMTP server, those features do not work.
- In the Zitadel Console, open Settings > Default Settings.
- Enter your mail server’s host, port (typically 587 or 465), user name and password, and the sender address, such as
noreply@example.com. - Save.
Step 4: Add Users
In the Zitadel Console, open Users > Add User.
Enter a username, first and last name, and email address.
Known issue: The username must match the local part of the email address, the part before the
@. Forfoo@example.com, the username must befoo. Otherwise Zitadel can block sign-in with the full email address.Without SMTP, tick Email Verified and set an initial password. Otherwise the account is not enabled.
Select Create User, then give the user their username, temporary password, and the console address. They are asked to change the password at first sign-in.
Assign the user’s roles. For Grafana’s roles, see Grafana Authentication.
Users sign in to the GUI with their login name, <username>@zitadel.<manager hostname>, not their email address. For more on managing users, see Zitadel’s user management documentation.
Step 5: Open Grafana
Open https://<manager hostname>/grafana/ and select Sign in with Zitadel. The dashboards are installed with it. See Metrics and Monitoring.
Step 6: Connect Your CDN Directors
Each CDN Director in external_directors is configured through the manager at https://<manager hostname>/confd/<name>/. Each one is known to Grafana as <name>.external, for example director-1.external. Connecting a Director to the manager is described in the CDN Director documentation.
Make sure your network’s firewall lets the Directors reach Kafka on every machine, and nothing else does: see Kafka Ports.
Step 7: Record Your Installation
Keep a record, off the cluster, of:
- The Zitadel master key, from Step 11 of the Quickstart.
- Your TLS certificate and key, and its expiry date.
- Your MaxMind databases.
- A copy of
/etc/acd/deploy. - The machines, their addresses, and the manager hostnames.
Further Reading
- Configuration Guide: every application setting.
- Operations Guide: day-to-day procedures.
- Performance Tuning Guide: topology labels, resources and database tuning.
- API Guide: the REST API.