WebUI Configuration
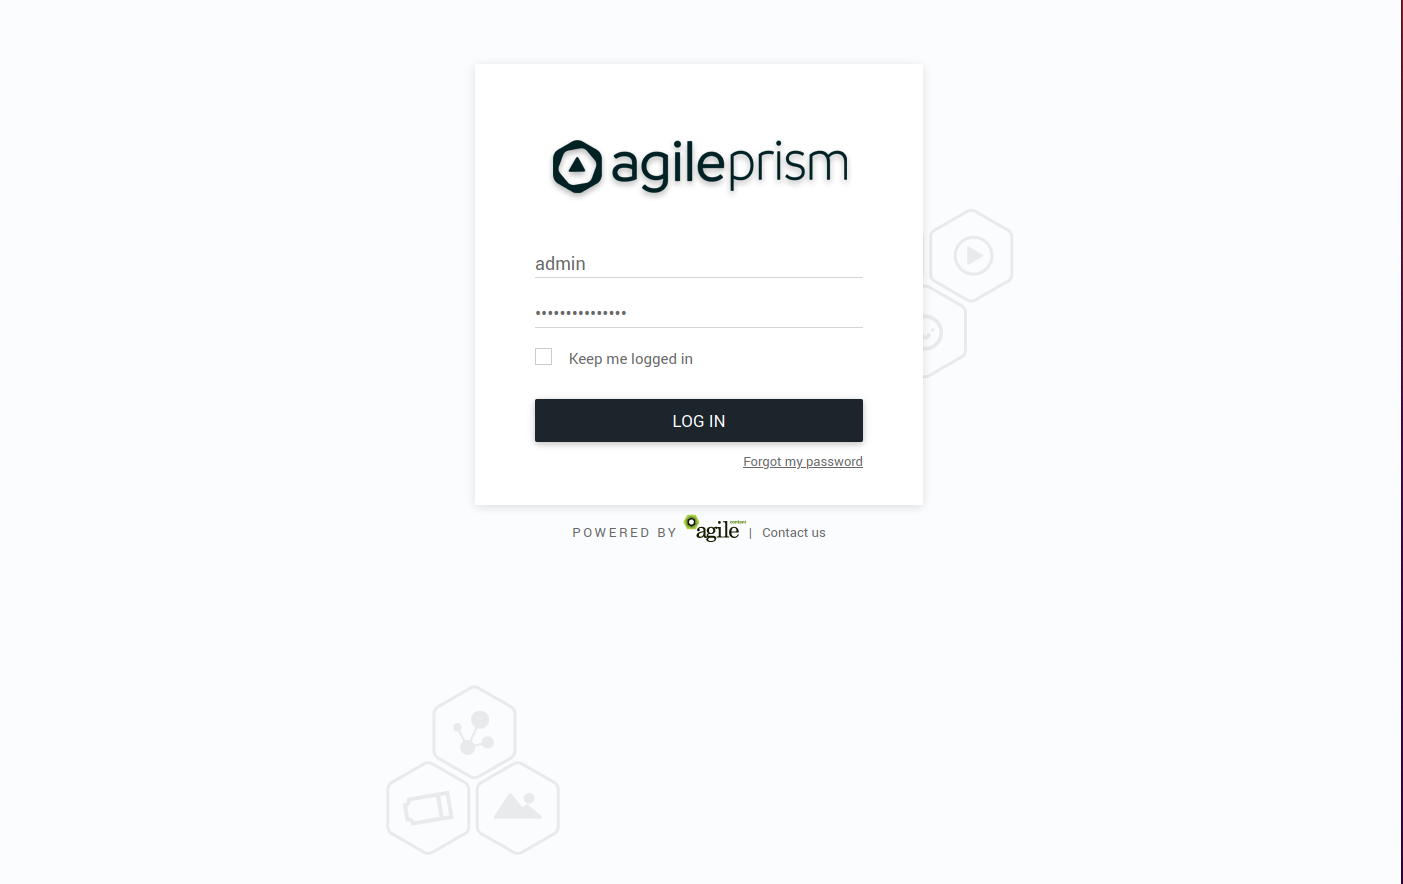
The web based user interface is installed as a separate component and can be used to configure many common use cases. After navigating to the UI, a login screen will be presented.
Enter your credentials and log in. In the top left corner is a menu to select what section of the configuration to change. The configuration that will be active on the router is added in the Routing Workflow view. However, basic elements such as classification rules and routing targets, etc must be added first. Hence the following main steps are required to produce a proper configuration:
- Create classifiers serving as basic elements to create session groups.
- Create session groups which, using the classifiers, tag requests/clients for later use in the routing logic. of the incoming traffic.
- Define offload rules.
- Define rules to control behavior of internal traffic.
- Define backup rules to be used if the routing targets in the above step are unavailable.
- Finally, create the desired routing workflow using the elements defined in the previous steps.
A simplified concrete example of the above steps could be:
- Create two classifiers “smartphone” and “off-net”.
- Create a session group “mobile off-net”.
- Offload off-net traffic from mobile phones to a public CDN.
- Route other traffic to a private CDN.
- If the private CDN has an outage, use the public CDN for all traffic.
Hence, to start with, define the classifiers you will need. Those are based on information in the incoming request, optionally in combination with GeoIP databases or subnet information configured via the Subnet API. Here we show how to set up a GeoIP classifier. Note that the Director ships with a compatible snapshot of the GeoIP database, but for a production system a licensed and updated database is required.
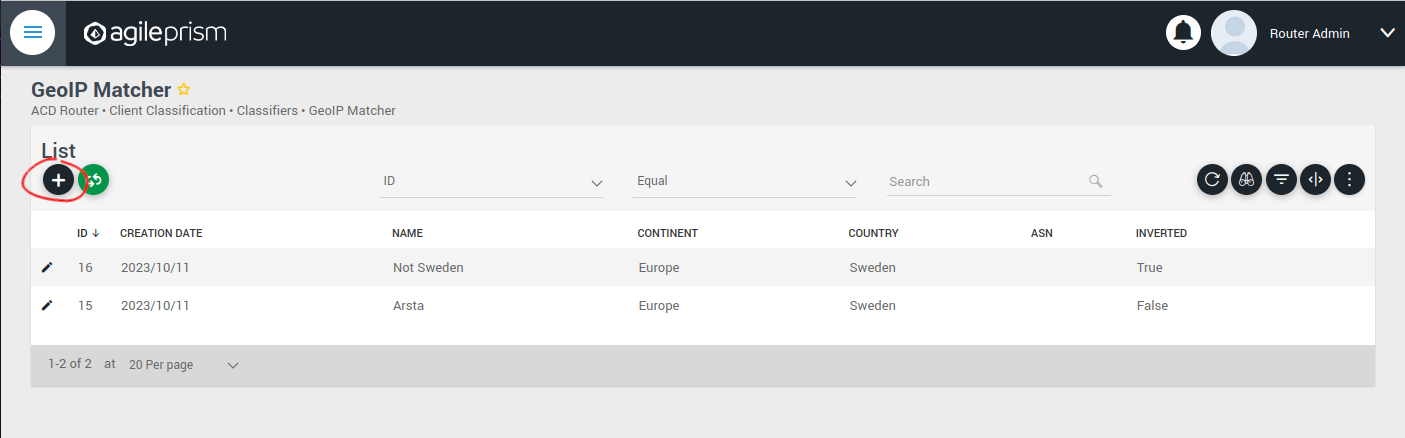
Click the plus sign indicated in the picture above to create a new GeoIP classifier. You will be presented with the following view:
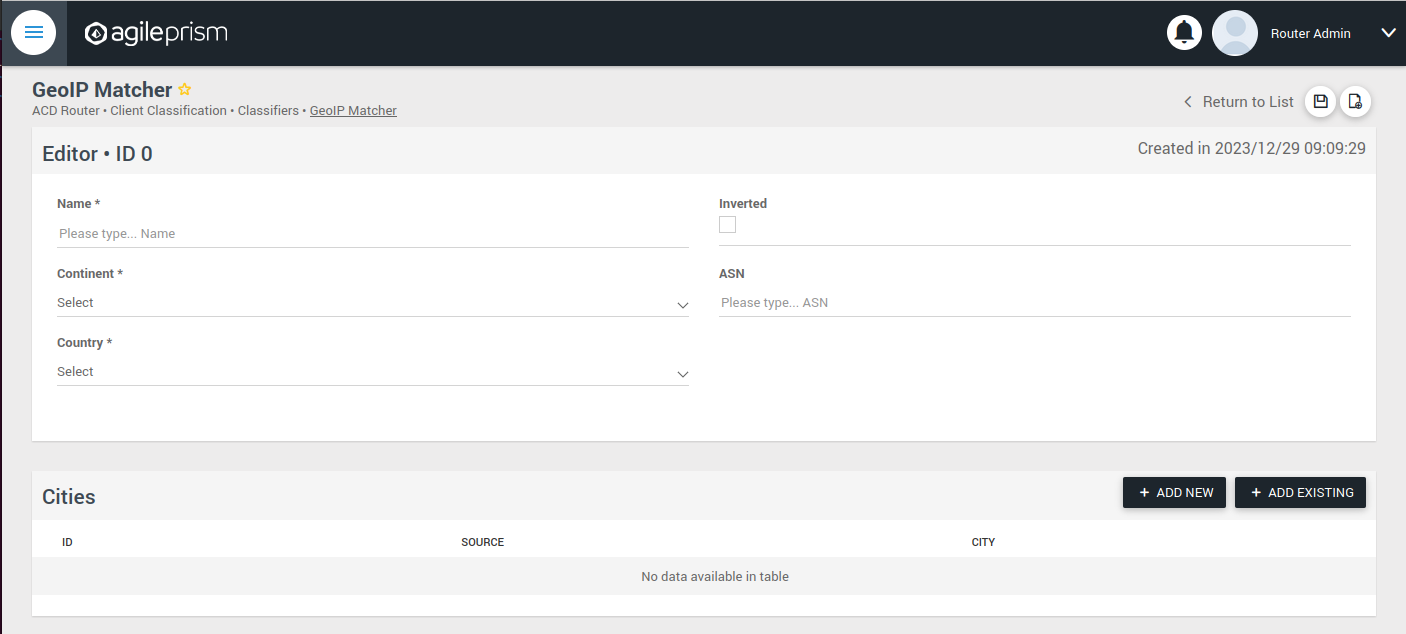
Here you can enter the geographical data on which to match, or check the “Inverted” check box to match anything except the entered geographical data.
The other kinds of classifiers are configured in a similar way.
After having added all the classifiers you need, it is time to create the session groups. Those are named filters that group incoming requests, typically video playback sessions in a video streaming CDN, and are defined with the help of the classifiers. For example, a session group “off-net mobile devices” could be composed of the classifiers “off-net traffic” and “mobile devices”.
Open the Session Groups view from the menu and hit the plus sign to add a new session group.
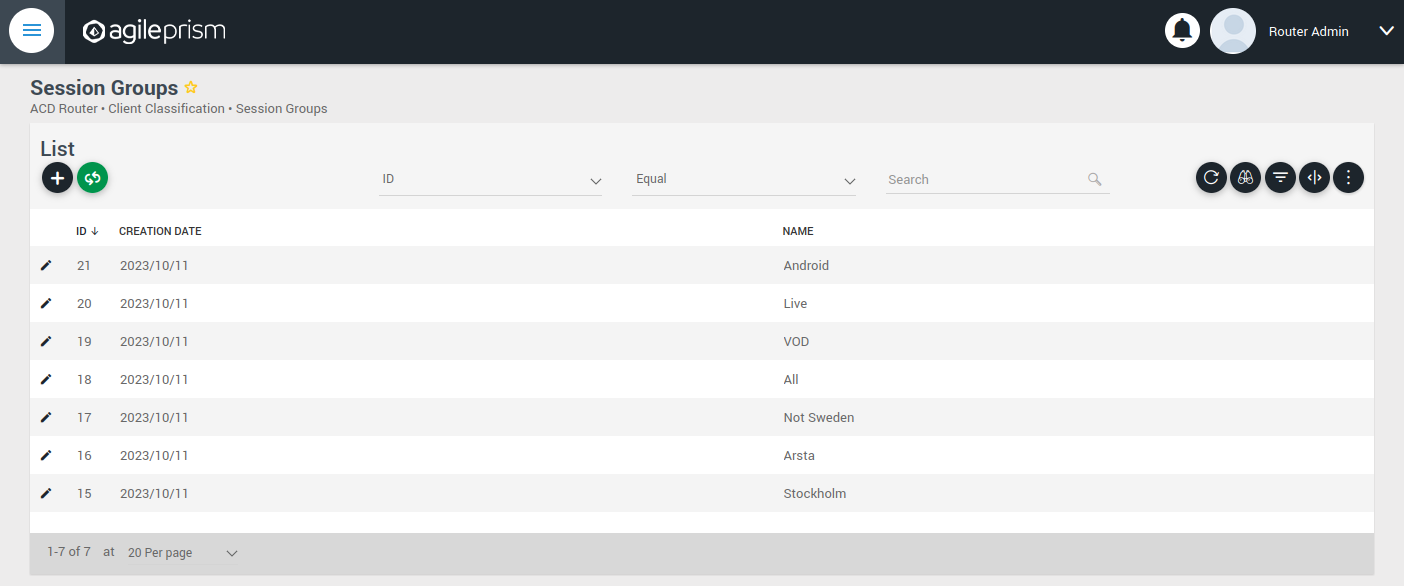
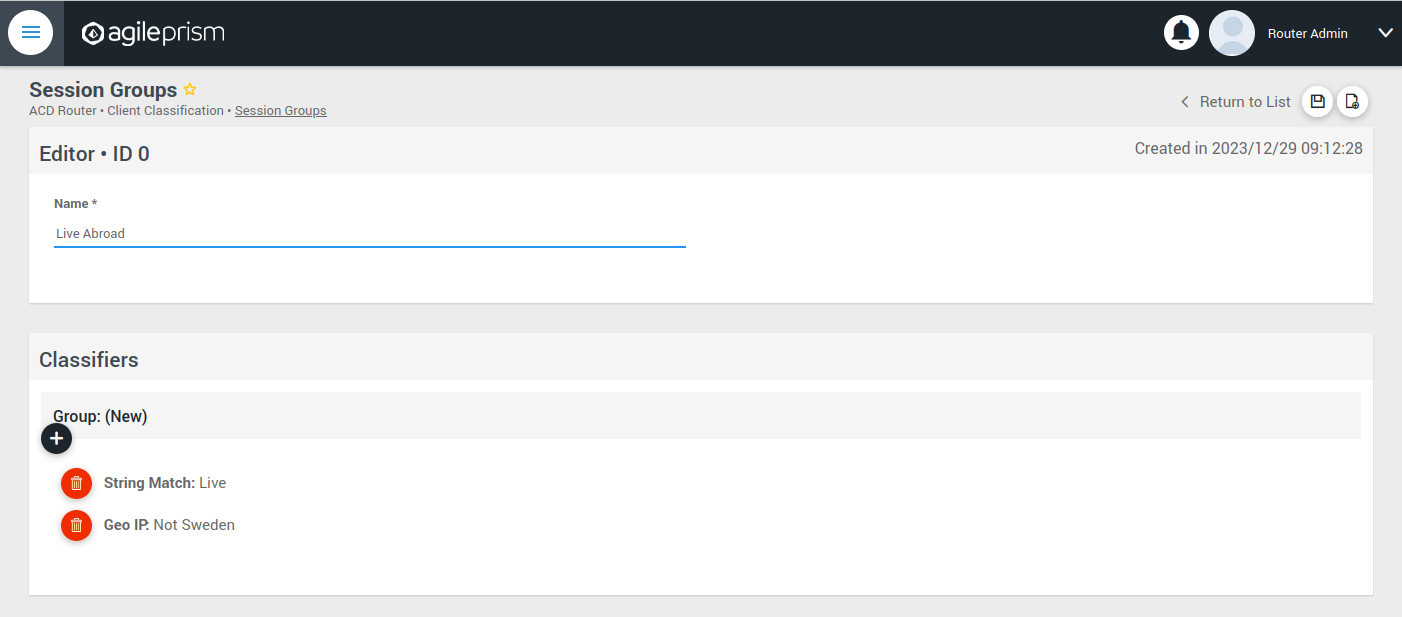
Define the new sessions groups by combining the previously created classifiers. It is often convenient to define an “All” session group that matches any incoming request.
Next go the “CDN Offload” view:
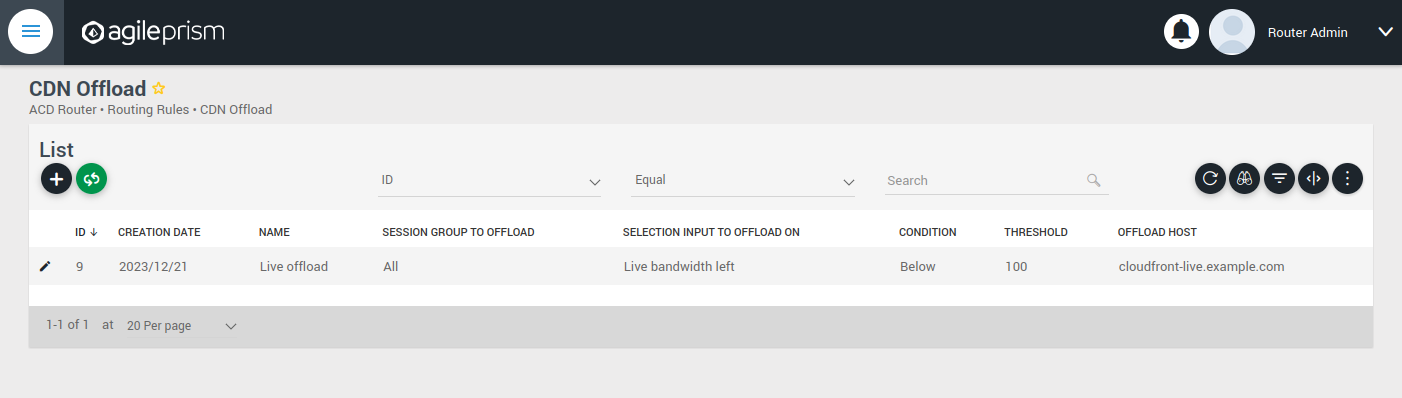
Here you define conditions for CDN offload. Each row defines a rule for offloading a specified session group. The rule makes use of the Selection Input API. This is an integration API that provides a way to supply additional data for use in the routing decision. Common examples are current bitrates or availability status. The selection input variables to use must be defined in the “Selection Input Types” view in the “Administration” section of the menu:

Reach out to the solution engineers from AgileTV in order to perform this integration in the best way. If no external data is required, such that the offload rule can be based solely based on session groups, this is not necessary and the condition field can be set to “Always” or “Disabled”.
When clicking the plus sign to add a new CDN Offload rule, the following view is presented:
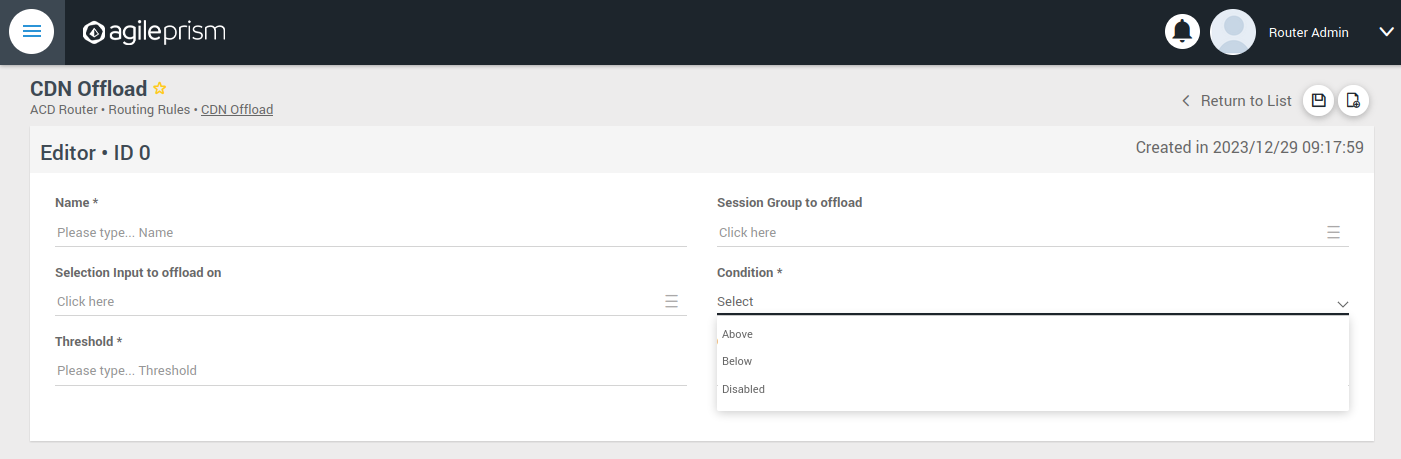
The selection input rule is phrased in terms of a variable being above or below a threshold, but also a state such as “available” taking values 0 or 1 can be supported by for instance checking if “available” is below 1.
Moving on, if an incoming request is not offloaded, it will be handled by the Primary CDN section of the routing configuration.
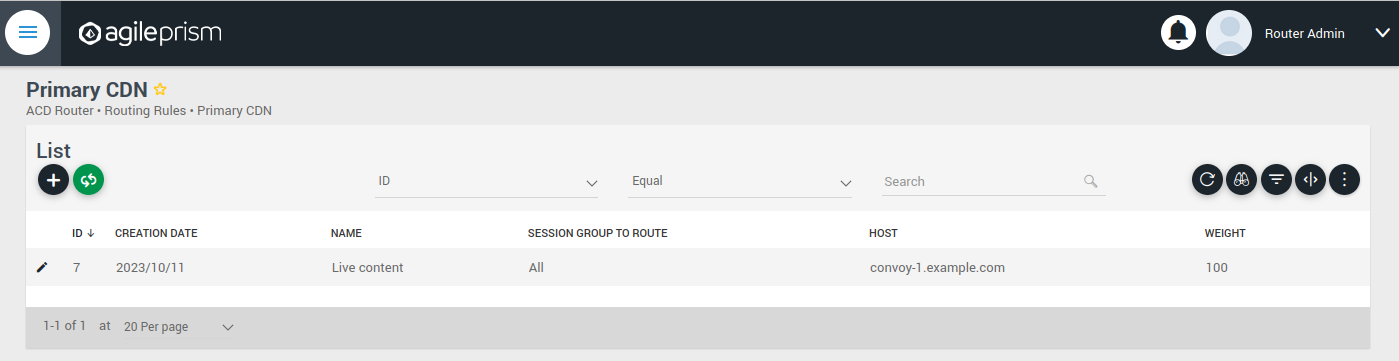
Add all hosts in your primary CDN, together with a weight. A row in this table will be selected by random weighted load balancing. If each weight is the same, each row will be selected with the same probability. Another example would be three rows with weights 100, 100 and 200 which would randomly balance 50% of the load on the last row and the remaining load on the first two rows, i.e. 25% on each of the first and second row. If a Primary CDN host is unavailable, that host will not take part in the random selection.
If all hosts are unavailable, as a final resort the routing evaluation will go to the final Backup CDN step:
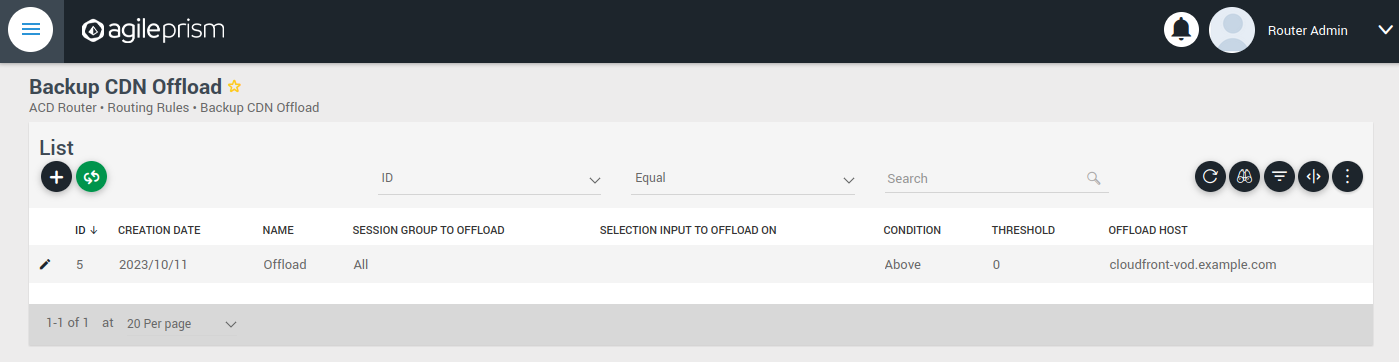
Here you can define what to do when all else fail. If not all requests are covered, for example with an “All” session group, then the request will fail with 403 Forbidden.
Now you have defined the basic elements and it is time to define the routing workflow. Select “Routing Workflow” from the menu, as pictured below. Here you can combine the elements previously created to achieve the desired routing behavior.

When everything seems correct, open the “Publish Routing” view from the menu:
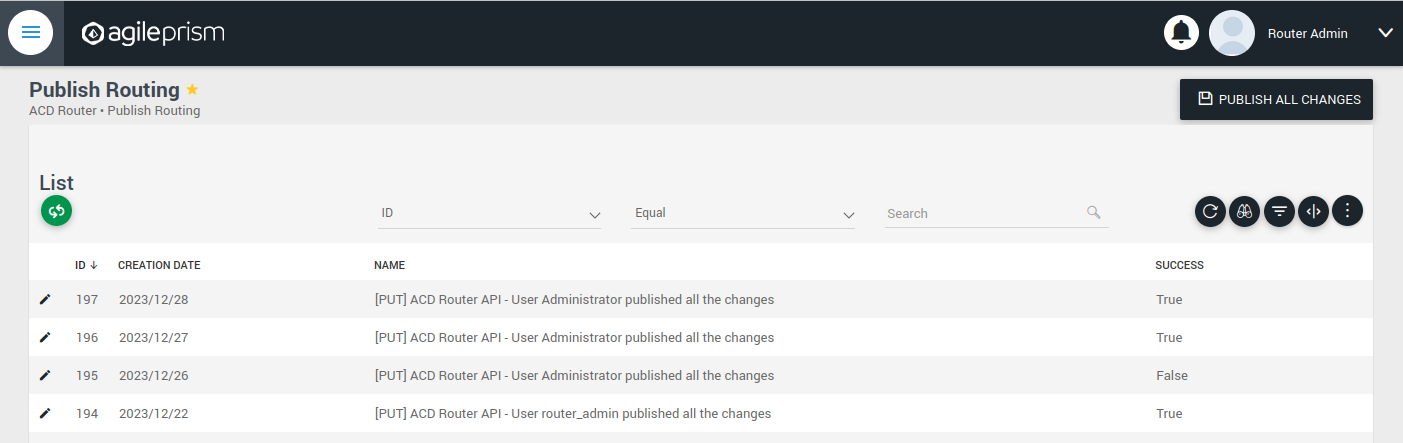
Hit “Publish All Changes” and verify that you get a successful result.